Monday, November 2, 2015

Final Touches

Adding code number for each painting

Checking for unwanteds under the glass

Securing the image and adding the wire

My husband is my biggest fan. He is also an analytical mathematician who loves working with numbers. When I announced I had finished my eleven paintings for CAVA he celebrated with me and thought I was done… Last Friday he asked me what framing all involves… Indeed. Watercolours need protection. The framing does not take long if one has all the ingredients at hand. I had checked some time ago and ordered ten new frames as I already had a few on my shelves. Most of them were silver and I wanted to show them in black. It looks far more professional if all the frames are the same style and the same colour in a show. The glass was abundant. There is a case on another shelf waiting to be emptied. I had forgotten about the matting until last week so I cut some scraps and had them belevel cut at my frame shop. Should be everything… Luckily I did have the other needed supplies such as acid free tape, window cleaner and bandaids. Glass is sharp on the edges and I usually get at least one nick. So everything is ready to deliver on Wednesday and I can turn my attention to other things… like mixed media! Life is good.

Just a reminder:
Two concurrent upcoming shows this week!


Monday, October 5, 2015

En plein air


The French language uses far less capital letters than English. What does the title mean? One translation is: out in the open air. That is where I have been spending a lot of my time lately, capturing the lovely fall colours around Edmonton. We live in a very beautiful city, the weather magnificent. That being said, what does one do with rain when using watercolours for en plein air? Watercolours are my favorite medium for outdoors at present… Eventually I decided one of the essential ingredients for the exercise is my camera. Once I have located what I consider to be an interesting spot (usually having to do with negative spaces!) I take a photo. I never know if I will be able to finish the painting while on site or not. Usually it takes me about two hours for a quarter sheet of paper (11”x15”). I have been rained out, timed out and chilled out (yes, I am a wimp!). In the rain, the first thing I do is protect what I have already painted. I carry an empty plastic bag for the occasion. My equipment is simple and therefore very easily packed up for the trip home. Takes about five minutes plus the walk from wherever I might have wandered… In my studio I load the picture I took onto my computer and install full screen. This is much better than a print. Now if only I could glue the shadows in place so they would not move… Life is good. 

P.S. The en plein air paintings are the ingredients for my upcoming show at CAVA, opening November 6th. Yah, I know... last minute.

Monday, August 24, 2015

After Frame


Some artists wonder what to do with a drawing or painting after it has been taken out of the frame. With watercolours and mark making it is a frequent occurrence. I am in the midst of preparing my own work for exposition without a frame. The local hardware store is questioning my sanity as I purchase quantities of shrink wrap (used for insulating leaky windows). Perhaps it would be better to get new windows…. The pieces I am enclosing in plastic are quite large so I purchase the largest roll which happens to be just the correct width for the length of the matted work. Once cut I remove the artwork and open the folded plastic then replace the art face down so that the messy taping is done on the back. Using clear packaging tape I draw the plastic as tight as possible without creating too many wrinkles then I begin to blow dry it. The heat from the hair dryer causes the plastic to shrink. This takes quite a while as I begin at the edges under the tape where most of the sheet is gathered. After it has been tightened to my satisfaction on the back I turn it over and again work from the edges into the centre. I now have a substantial inventory to display in a rack rather than on the walls. Things are coming together. Life is good.   

Monday, May 4, 2015

Restoration


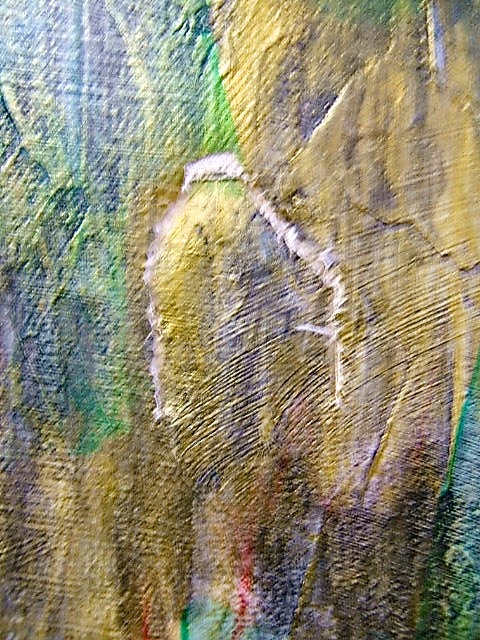
Once I had the canvas repairs in place, the indentations on the front of the painting needed attention. The first step was to remove the varnish. At this point I am fortunate to have a good memory. Having done several murals around the same time as this series I assumed the varnish would be of the MSA UVL sort. This means it is oil based… to remove the varnish one uses mineral spirits or turpentine. Applying some high quality paint thinner on the surface it became evident my assumption had been correct. I have since switched to Polymer based varnish for work destined to hang in interior settings. Carefully removing the softened varnish with some rags I noticed some residue on the edges. Upon closer inspection I wished I had chosen a rag which had not been part of a red sweatshirt. Applying more mineral spirits I removed the telltale red fluff and some more varnish then let it dry overnight. Using a very thin coat of molding paste I reconstructed a similar irregular surface to the painting, filling in the indentation and let it dry overnight too.  Matching the paint is the final chore. This could pose a problem for some. It depends on the style and the degree of finish in the painting. For me it should be a easy fix as grass is varied in colour, tone and texture. A quick re-varnish and all will be done. Life is good.   

Monday, April 27, 2015

Accidents


With all the moving we have done in the last three years, the loss or damage of some items, I suspect, is inevitable. Our second segment in the saga brought the hole in this canvas. It is from the “Eve” series, the largest of the group measuring 72” x 48”, The Keeper of Wonder. The wind caught it causing it to fall against another object waiting to be loaded into the moving van. At the time all I did was look at it and without much emotion turned my attention to the next item to lift. My easy acceptance at this point could be explained by many similar occurrences during my childhood as we relocated from place to place and country to country. I had become accustomed to letting go of precious objects. In this case the damage is reparable. It has just taken be a few years to get around to doing it! Since I lacked the necessary expertise to do so I went to my favorite art store and asked the very knowledgeable people there how to go about it. I was advised to take some raw canvas, cut it small enough to cover the hole while allowing enough fabric to feather the edge. Being independent I had tried to fix another painting previously without success. I had not taken the time to pull the weave and the warp off the edges of the piece to “feather” it and I had cut it too large thinking the bigger the better… Using regular gel I applied a coat to one of the canvas patches and around the hole then pressed the bandaid into place. I had also noticed a stretch mark close to where the hole appeared and decided to administer another bandaid along that seam as well, for good measure. All in all I am delighted with the results. A little paint and no one will see the damage. They will again be able to appreciate the painting without interruption. Life is good.